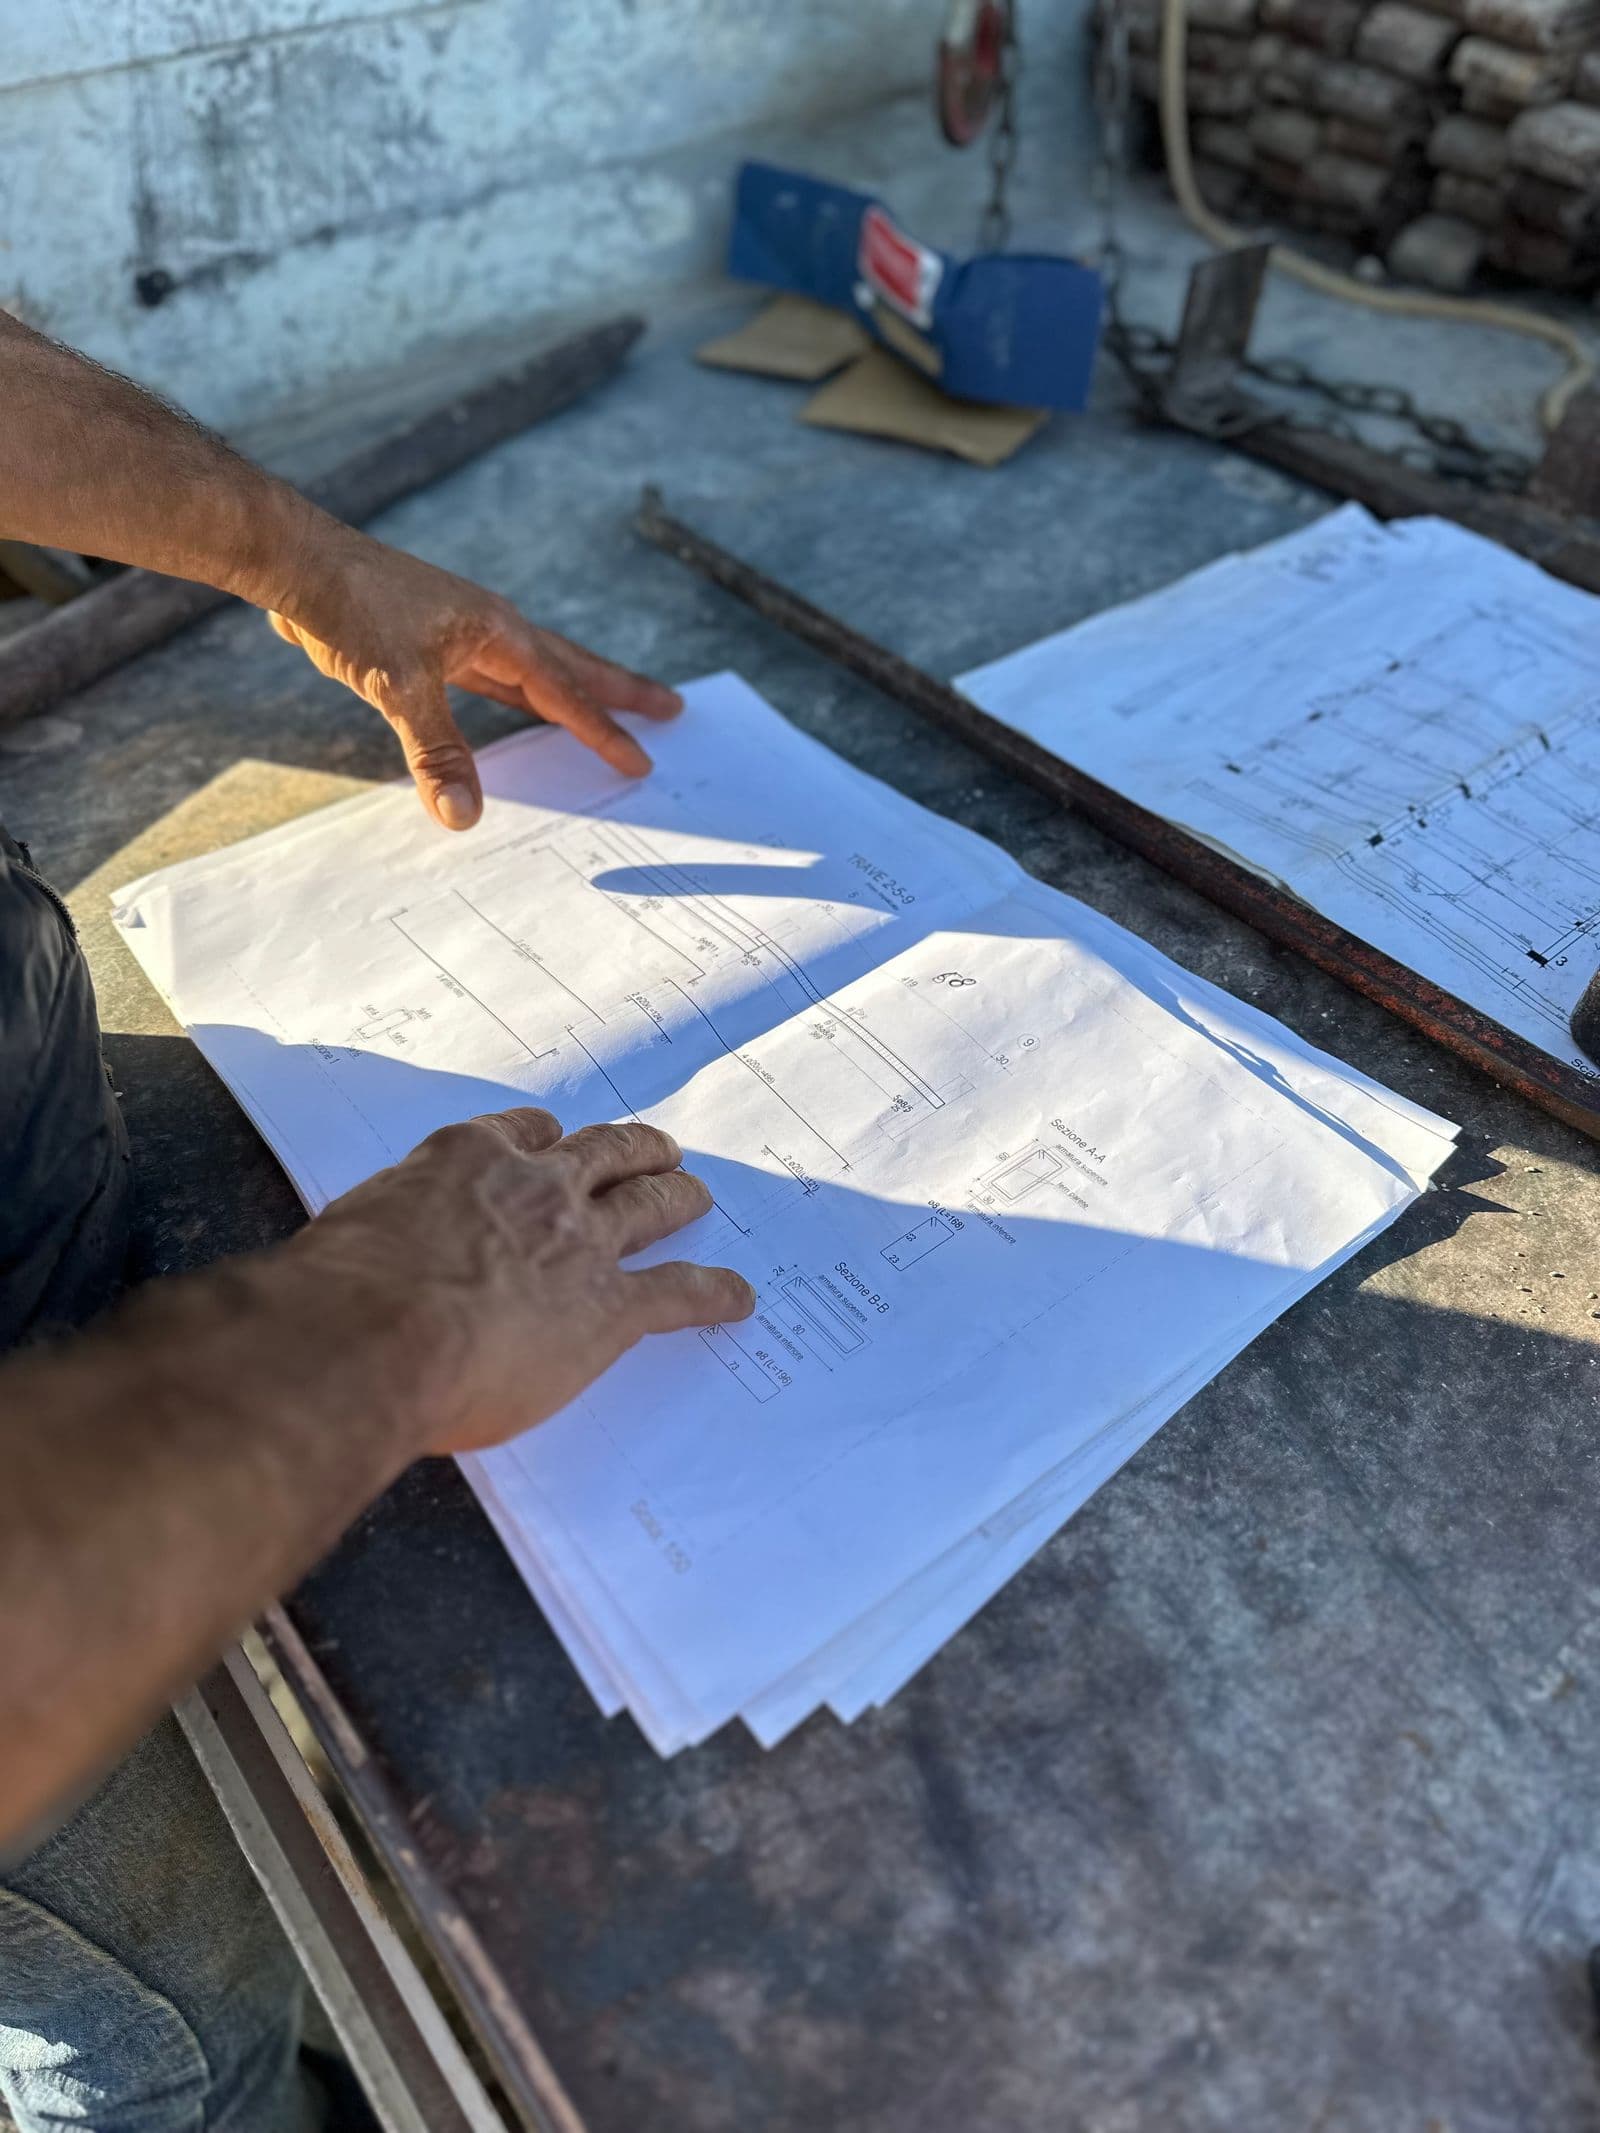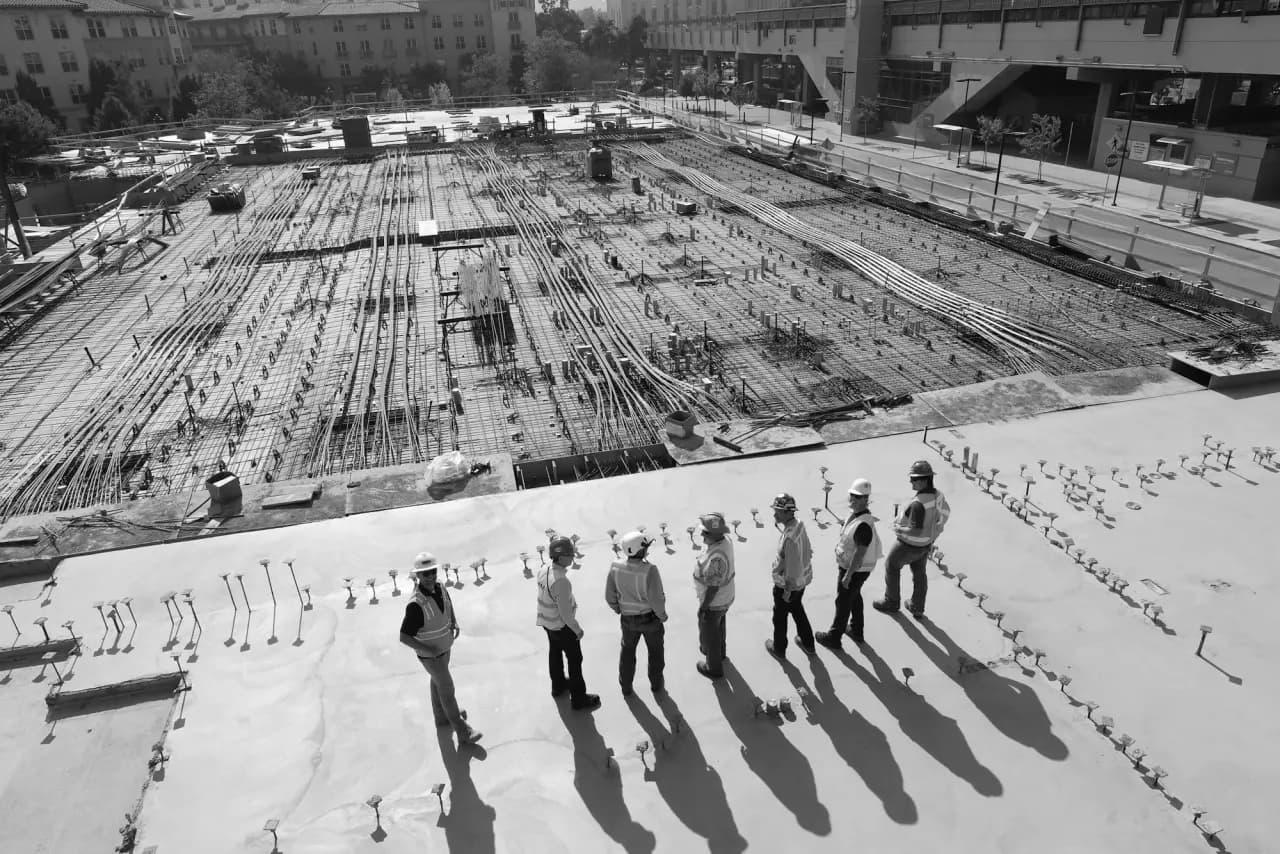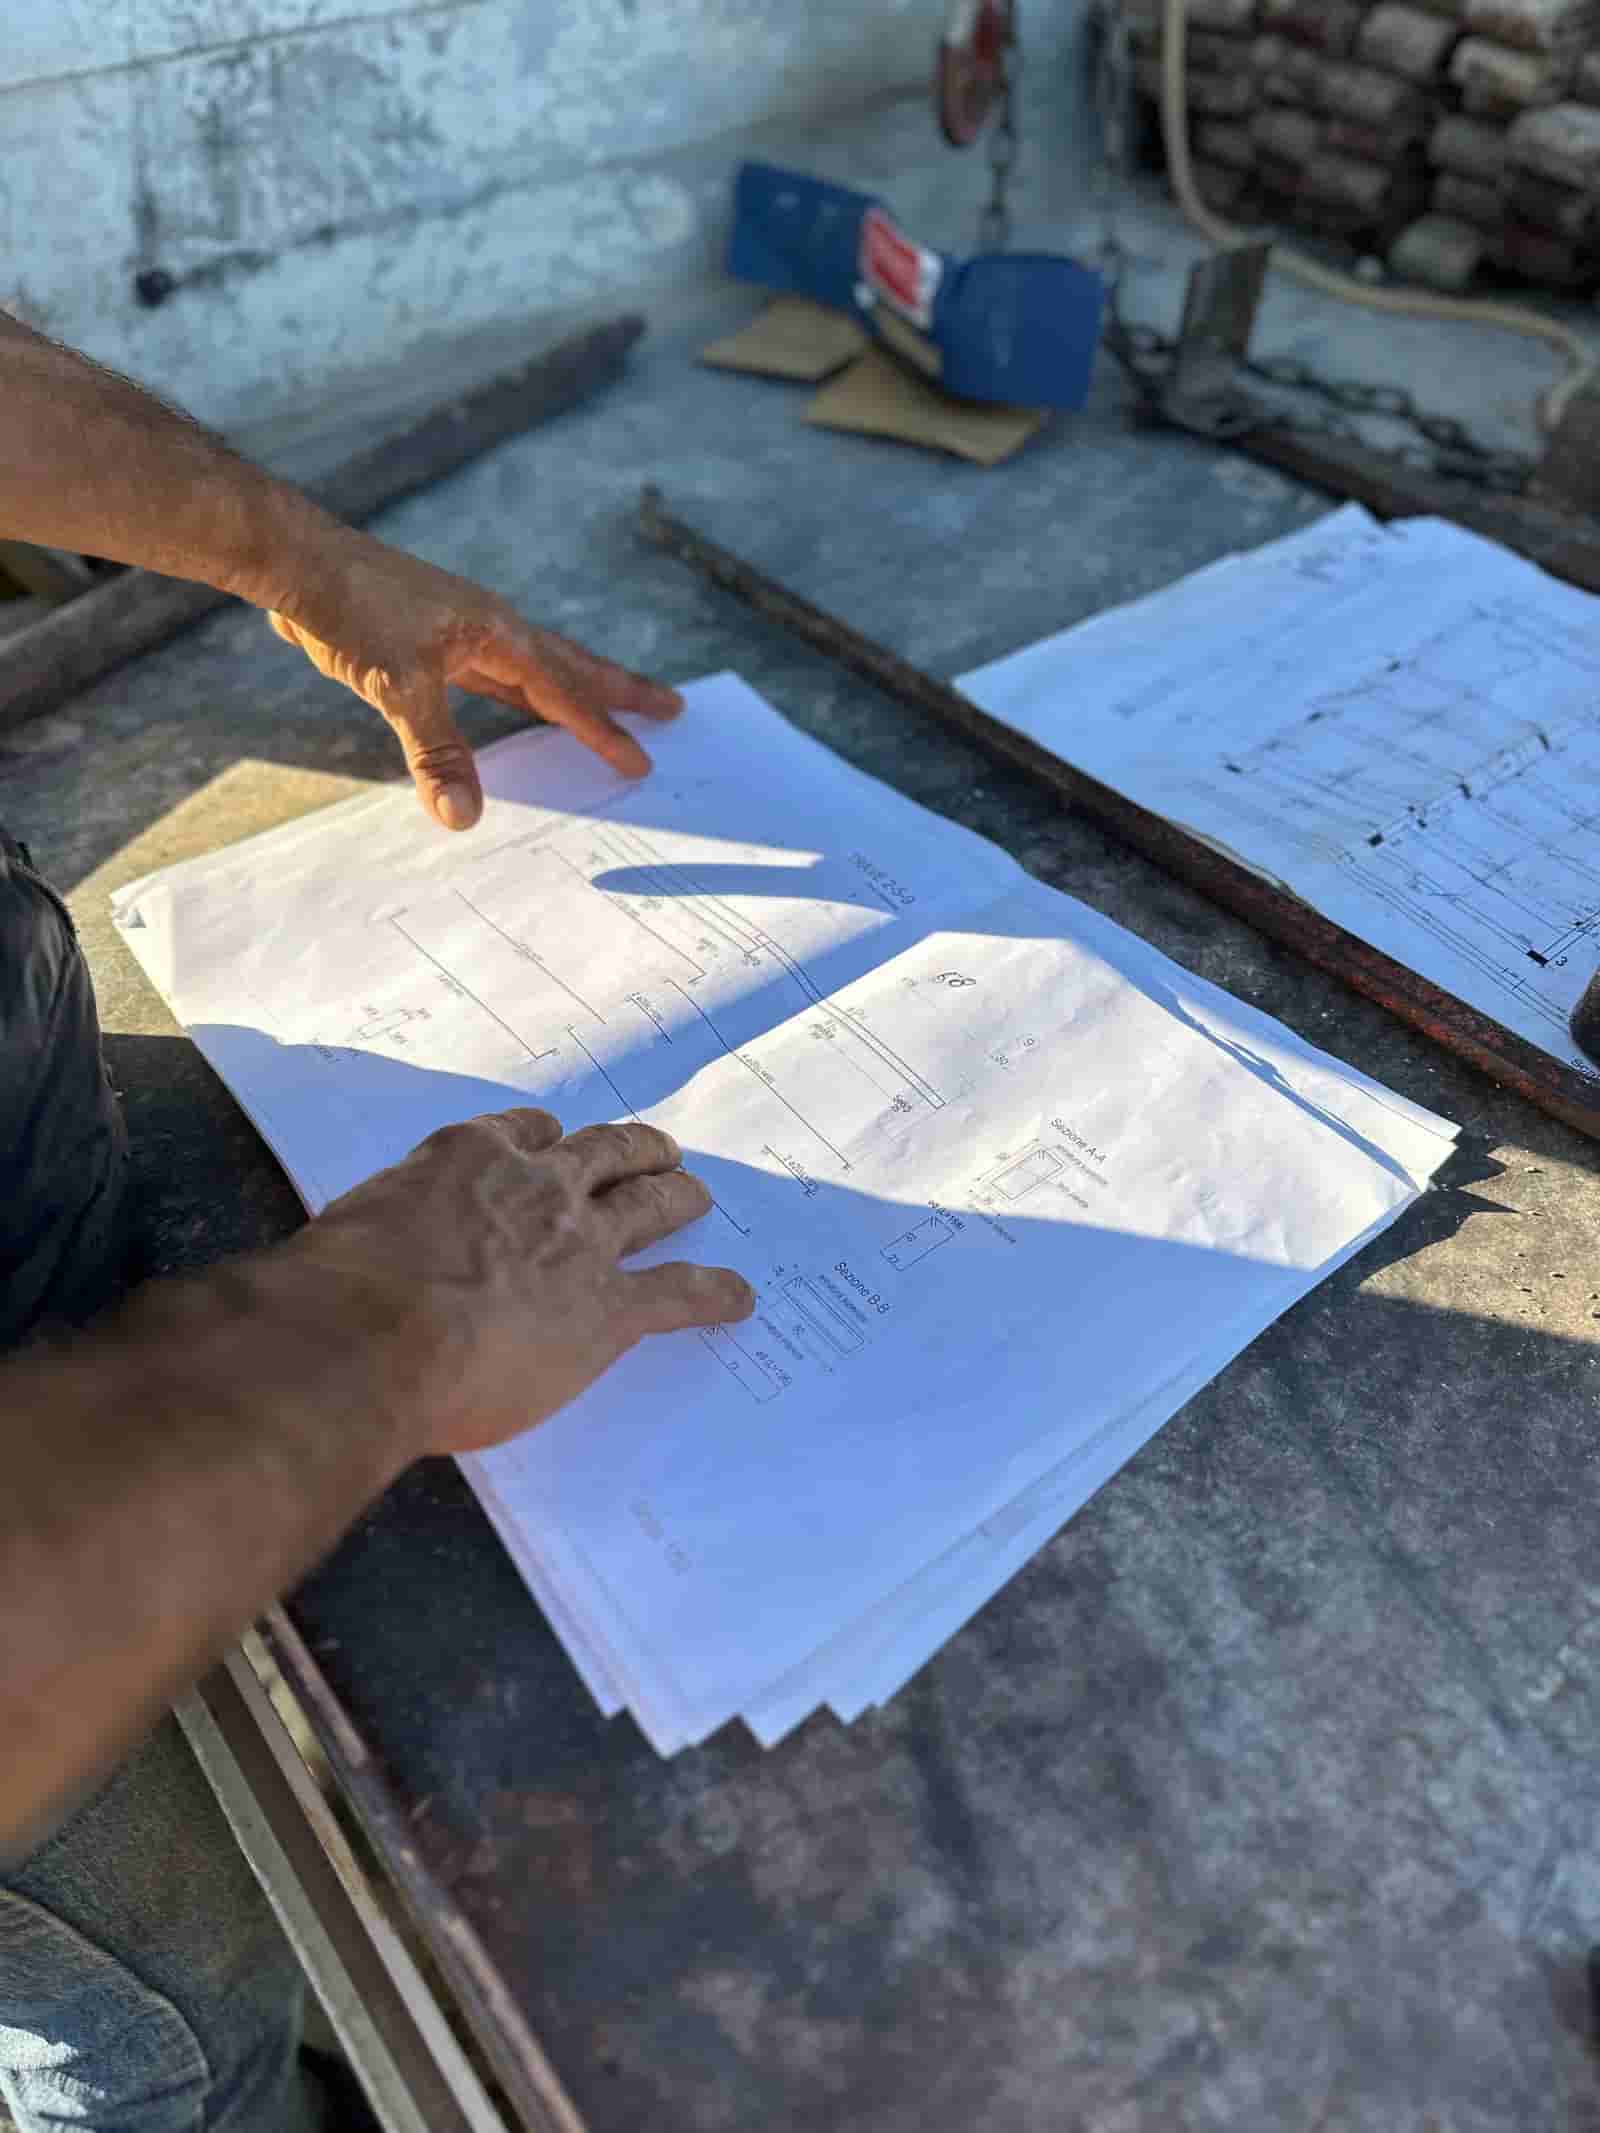

A takeoff is where every estimate begins. Before anyone applies a unit price, you have to answer how much work the drawings actually contain, and a takeoff is the disciplined process of measuring and counting it. This guide walks the repeatable sequence a senior estimator uses on a US commercial job, with two worked measurements you can follow line by line.
What is a take off in construction, and what are you producing?
A takeoff converts a drawing set into a structured list of measured quantities. You count what can be counted (doors, fixtures, columns), measure what must be measured (wall length, pipe runs, slab areas), and compute what those measurements imply (cubic yards of concrete, tons of steel, sheets of drywall). The output, a quantity takeoff, is a list of items in standard units that pricing then extends into dollars.
The reason to treat this as its own discipline is simple: every dollar in the bid sits on top of a quantity. A pricing slip costs you one line. A quantity slip multiplies through the whole estimate. If you want the definition before the process, start with construction takeoff. This guide is the how, step by step.
Step 1: Pull the Current Plans and Check Revisions
Start by confirming you are working from the right paper. Pull the full set of plans and the specifications, then verify two things before you measure anything.
First, the revision. Every sheet carries a revision block; confirm you hold the latest issue, not a superseded one. Second, the addenda. During bidding, addenda change drawings and scope language, and an addendum issued three days ago can move a wall, swap a fixture, or add an alternate. Read each addendum twice: once for changed drawings, once for changed words in the specs. Mark superseded sheets so you cannot measure from them by accident.
This step feels like overhead until the one time you skip it and take off a slab that addendum 2 deleted. Then it never feels like overhead again.
Step 2: Set up the takeoff structure
Decide how you will organize quantities before you record the first one. On commercial work the two common structures are CSI MasterFormat divisions (03 Concrete, 09 Finishes, 26 Electrical, and so on) and your company cost codes. Pick one and build your takeoff sheet to match it.
Structure matters because it controls two things: how cleanly the quantities hand to pricing, and how easy it is to find a gap. When your sheet has a slot for every division you expect on the job, an empty slot is a visible question (did this job really have no fireproofing, or did I miss it?). A flat list with no structure hides those omissions.
Work one system at a time inside that structure. Pick a division, sweep every sheet that touches it, quantify it completely, then move on. Jumping between trades is how items get double counted or dropped.
Step 3: Verify Scale Before You Measure
Never trust a printed or stated scale on faith. Plotting, PDF scaling, and reduced sheets all distort the ratio. Before measuring on any sheet, calibrate against a known dimension: find a written dimension string (say a 30 ft column bay), measure that same line with your scale or your on-screen tool, and confirm it reads 30 ft. If it does not, recalibrate until it does.
Re-verify on every sheet that was reissued, because a revised sheet may have been plotted at a different scale than the original. Counting items (each) is immune to scale error, but every length, area, and volume depends on it. Calibrate first, measure second.
Step 4: Count, Measure, and Compute by Element
With structure and scale set, work through each system in the four measurement types. Knowing which type applies to an element is half the craft.
- Count (each, ea): doors, plumbing fixtures, columns, light fixtures, panels. Pull these from schedules and plan symbols. A door schedule listing 18 openings is a takeoff line of 18 ea.
- Length (lf): wall runs, pipe, conduit, footings, baseboard. Measure along the run in linear feet. A 312 ft partition run is 312 lf at this stage; height comes in when length becomes area.
- Area (sf, sy): flooring, drywall, paint, roofing. Floor finishes price by the square foot or square yard; convert sf to sy by dividing by 9.
- Volume (cy): concrete, excavation, structural fill. Multiply plan area by thickness for cubic feet, then divide by 27 for cubic yards.
Weight (tons) covers structural steel and rebar. Whatever the element, record every quantity with a sheet reference. The line should read 312 lf interior partition, sheet A-201, not a bare 312. A quantity you cannot trace to a sheet is a quantity you cannot defend in a bid review or a dispute.
Worked Example: A Slab on Grade to Cubic Yards
The structural plan shows a slab on grade, 80 ft by 45 ft, specified at 6 in thick. Work it in order:
- Plan area: 80 ft x 45 ft = 3,600 sf.
- Thickness in feet: 6 in / 12 = 0.5 ft.
- Volume in cubic feet: 3,600 sf x 0.5 ft = 1,800 cf.
- Convert to cubic yards: 1,800 cf / 27 = 66.67 cy.
That 66.67 cy is the in-place neat quantity. Concrete needs a waste allowance, which we apply in the next step.
Worked Example: A Drywall Partition to Square Feet, Both Faces
The same job has interior partitions: the plan shows runs totaling 312 lf at a 10 ft ceiling height, drywall both sides on metal studs.
- Run length: 312 lf (measured along the plan).
- One face: 312 lf x 10 ft = 3,120 sf.
- Both faces: 3,120 sf x 2 = 6,240 sf.
Forgetting to double for the second face is one of the most common drywall errors, and it understates the scope by half. Hold that 6,240 sf; the sheet count comes after waste.
Step 5: Apply Waste Factors
Neat quantities are not buy quantities. Cuts, breakage, overlap, and spillage are real, so you add a waste factor calibrated from your own job history rather than a generic rule. Typical allowances run 5 to 15 percent depending on material and layout complexity, and these figures are illustrative. Apply waste once, deliberately, and never stack it twice.
Finish the slab. Concrete on grade often carries about 5 percent for subgrade irregularity and over-excavation:
- 66.67 cy x 1.05 = 70.0 cy, rounded up to 71 cy to order in whole yards.
Finish the drywall. Board commonly carries about 10 percent for cuts and waste:
- 6,240 sf x 1.10 = 6,864 sf.
- A 4 ft by 12 ft sheet covers 48 sf, so 6,864 sf / 48 sf = 143 sheets, rounded up to 144 sheets.
Two measured elements are now a purchasable, priceable package: 71 cy of concrete and 144 sheets of board.
Step 6: Cross-Check Against Schedules and Details
Before you call a system done, reconcile it against the rest of the documents. The floor plan and the door schedule disagree more often than anyone admits, so count both and resolve the difference. Check wall types against the partition schedule for the right board layers and heights. Read the detail callouts; a wall section may show two layers of board on one face for a rated assembly, which doubles part of your drywall quantity.
This is also where you sanity-check your own arithmetic. Does the concrete volume feel right for the slab area? Does the fixture count match the number of rooms? A two-minute reasonableness check here catches the decimal-point error that pricing will otherwise multiply.
Step 7: Hand the Quantities to Pricing
A clean takeoff hands off without translation. Because you built it on a division or cost-code structure, each quantity drops into the estimate where its unit cost lives: 71 cy against a placed-and-finished concrete rate, 144 sheets (or 6,240 sf) against a drywall assembly rate, fixture counts against their install costs. Keep the sheet references attached so any number can be traced back during review or buyout.
The same takeoff then earns its keep again: it becomes the quantity backbone for buyout, for the schedule of values, and for checking subcontractor proposals against your own numbers.
Where On-Screen and AI Takeoff Fit
Digital, on-screen takeoff replaced the scale ruler with a cursor. You load the PDF set, calibrate the scale, then click to count and trace to measure while the software totals quantities and keeps a visual audit trail. It removes scale arithmetic and recalculates instantly when an addendum changes a dimension, but it does not decide what to measure. STACK construction estimating software is one example of a cloud on-screen takeoff and estimating platform. You still drive every click, so a large set still takes days.
AI takeoff moves the measuring itself to the machine. The system reads the drawing set, identifies elements (walls, doors, slabs, fixtures), measures and counts them, and drafts the quantity list with each item traceable to its sheet, the same standard a human takeoff is held to. The estimator's role shifts rather than shrinks: you verify scope boundaries, spot-check quantities against the drawings, set the waste factors and means and methods, and sign off.
Ruh runs this workflow and carries it one step further: it reads the drawings, does the takeoff, then prices the drafted quantities against your own price book rather than a generic database, so the estimator reviews a line-item draft estimate instead of a bare quantity list. The measuring hours compress; the judgment hours stay with you. That is the core of AI Construction Takeoff and Estimating Software, and AI assists the estimator here, it does not replace professional judgment.
Whatever the tooling, the discipline is constant. Confirm the current set and addenda, structure before you measure, verify scale, work one system at a time, apply waste once, cross-check against schedules and details, and keep every quantity traceable to a sheet. Do that and your takeoff stops being the riskiest part of the bid and becomes the part you can defend.
Try Ruh on a real bid. 100% money-back guarantee if you are not satisfied.*
*Scoped delivery, terms apply. Read the guarantee terms
Frequently Asked Questions
What does taking off in construction mean?+
Taking off means reading the drawing set and pulling out the measured quantity of every material and item of work it contains, expressed in the units the work is priced in. It is the step before pricing: you are answering how much work the drawings contain, not what it costs. The two worked examples in this guide do exactly that, one in cubic yards and one in square feet.
What is the difference between a takeoff and an estimate?+
A takeoff is the measured list of quantities pulled from the drawings (so many cubic yards, linear feet, sheets, and each). An estimate is what you get after you apply unit prices, labor rates, and markups to those quantities. The takeoff comes first and is the foundation, because every dollar in the estimate sits on top of a quantity. Get the quantity wrong and the price cannot save it.
How do you take off plans for a bid?+
Confirm you are working from the current set and have read every addendum, then set a structure (CSI divisions or your own cost codes) before you record a single quantity. Verify scale on each sheet against a known written dimension, then work one system at a time, counting what is counted, measuring what is measured, and computing what those measurements imply. Record every line with its sheet reference, apply waste once at the end, and cross-check against the schedules and details before pricing.
How do you calculate concrete quantity for a takeoff?+
Multiply the plan area by the thickness to get volume, then convert to cubic yards by dividing by 27. For an 80 ft by 45 ft slab at 6 in thick: 3,600 sf x 0.5 ft = 1,800 cubic feet, and 1,800 / 27 = 66.67 cy. Add a waste allowance (about 5 percent for slab on grade is typical and illustrative), giving roughly 70 cy, which you round up to 71 cy to order in whole yards.
What units are used in a construction takeoff?+
Four measurement types cover most work. Count items by each (ea) for doors, fixtures, and columns. Measure lengths in linear feet (lf) for walls, pipe, and conduit. Measure areas in square feet (sf) or square yards (sy) for flooring, drywall, and roofing. Compute volumes in cubic yards (cy) for concrete and excavation. Weight in tons covers structural steel and rebar.
Do you measure drywall on one side or both sides?+
Both sides, unless the wall is finished on only one face. Measure the wall length, multiply by height for the area of one face, then double it for a partition drywalled both sides. A 312 lf run at 10 ft is 3,120 sf per face and 6,240 sf for both faces. Check the wall sections too, since a rated assembly may call for two layers of board on a face, which adds more area.
Can AI do a construction takeoff?+
AI can read a drawing set, identify and measure elements, and draft the quantity list with each item traceable to its sheet, which compresses the measuring step dramatically. It does not replace the estimator. Scope interpretation, waste factors, means and methods, and final sign-off remain judgment calls. Treat AI output like the work of a fast junior estimator: verify it against the drawings, adjust it, then own it.
Still pricing in a spreadsheet? Your price book, automated end to end. Your estimator signs off.
See it runTerms Used in This Guide
Figures on this page are illustrative. Construction estimates depend on project-specific conditions, source documents, market pricing, and professional judgment. Ruh's AI assists the estimator and does not replace professional review: your team reviews, validates, and approves every estimate, bid, and pricing decision.